
Get to know the updated versions of Lightroom – CC and Classic – and discover a host of powerful new features with our Lightroom CC tips. James Paterson lights your way
1. Lightroom CC tips: All new Lightroom CC
Lightroom CC is a new version of Lightroom. It’s geared towards cloud-based photo editing across multiple devices – desktop, mobile and web – so you can access and edit your photos anywhere. Edits made on one device are synced to others (even to raw files) and the starting plan offers a terabyte of cloud storage for your photo library.

2. Lightroom CC tips: Organising your photos
Importing and organising images in Lightroom CC is carried out in the tidy ‘My Photos’ tab to the left of the interface. Albums here work just like Collections in Lightroom Classic, letting you group your photos together. The plus icon above this lets you import photos. No fancy import screen here – just a simple link to your local files.

3. Lightroom CC tips: Familiar Lightroom, new name
Those of us used to using Lightroom on our desktops in a traditional file/folder workflow should now think of this as Lightroom Classic. Don’t worry, other than the name change and a few excellent improvements (explained in more detail later), things remain unchanged from the desktop app we know and love.

4. Lightroom CC tips: Why the change?
Why split Lightroom into two separate apps? It’s all about workflow. Lightroom Classic retains the traditional workflow of local storage and desktop editing. On the other hand, the new Lightroom CC app is geared towards cloud-based storage and mobile editing which, as Adobe sees it, is the way of the future.
5. Lightroom CC tips: Edit on the go
The real strength of the new Lightroom CC ecosystem is the ability to edit seamlessly on desktop, mobile, tablet or web without needing to relearn different versions of the app. Any edits you carry out on one device are synced to others and, in keeping with the Lightroom ethos, every edit remains completely non-destructive.

6. Lightroom CC tips: Classic look, new performance
Lightroom Classic has seen some major improvements under the hood in terms of performance. Start-up time is better and an enhanced Embedded Preview workflow means you can scroll quickly through large sets of photos. Import is also faster, so you can begin editing previews of newly imported images while Import works in the background.
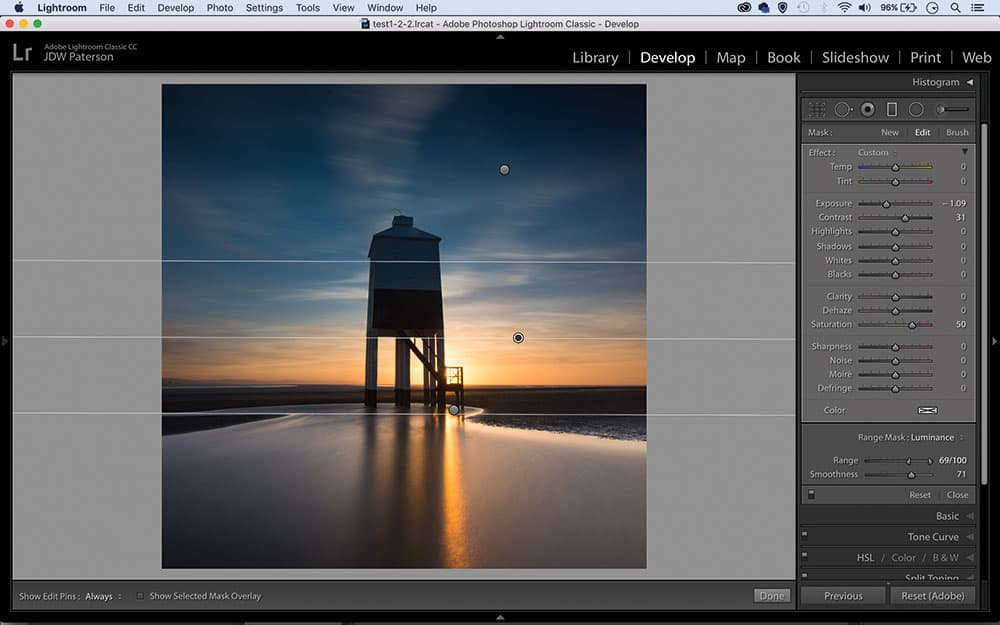
7. Lightroom CC tips: Target a tonal range
The two sliders within the Luminance command let you fine-tune what is affected. The Range slider is vital. Imagine all the pixels in your image are given a brightness value between 0 (black) and 100 (white). By setting a range – say 80 to 100 – you can focus the adjustment on a specific set of tones.
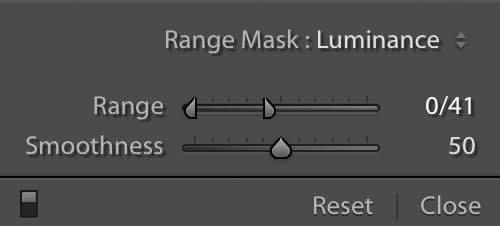
The Range and Smoothness sliders allow you to fine-tune within the Luminance command
8. Lightroom CC tips: What’s different in Lightroom CC?
Gone are modules, collections and many other features familiar to Lightroom users. The whole Lightroom CC experience is streamlined and rather slick. Essentially, we’re seeing the best bits of the Library and Develop Module in a new, easy-to-use package, and it has to be said, it flows effortlessly in a way Lightroom has never done before.
[collection name=”small”]
9. Lightroom CC tips: Storage solutions
Lightroom CC automatically backs up all your original full-res photos to the Adobe cloud so they’re accessible anywhere. Storage limits will depend on your subscription plan. Those on the existing Photography Plan receive a rather paltry 20GB, while a new dedicated CC plan offers one terabyte, with any additional storage costing extra.
10. Lightroom CC tips: Tools and settings
The right-side of the Lightroom CC houses all the tools and sliders that Lightroom users will be familiar with. They’re organised slightly differently – categorised as Light, Color, Details, Effects, Optics and Geometry. The new structure keeps the important tools at your fingertips and makes the old panel system in Lightroom Classic seem rather cumbersome by comparison.
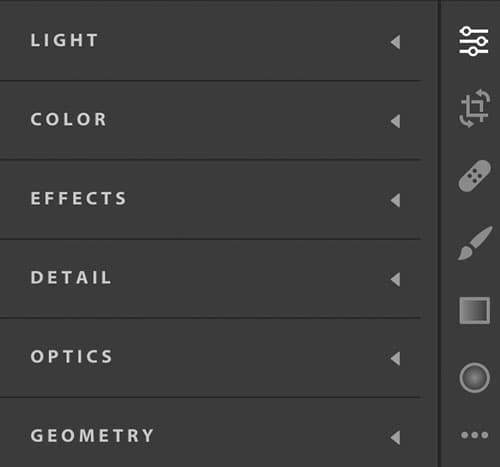
The tools and sliders are familiar but organised in a slightly different way
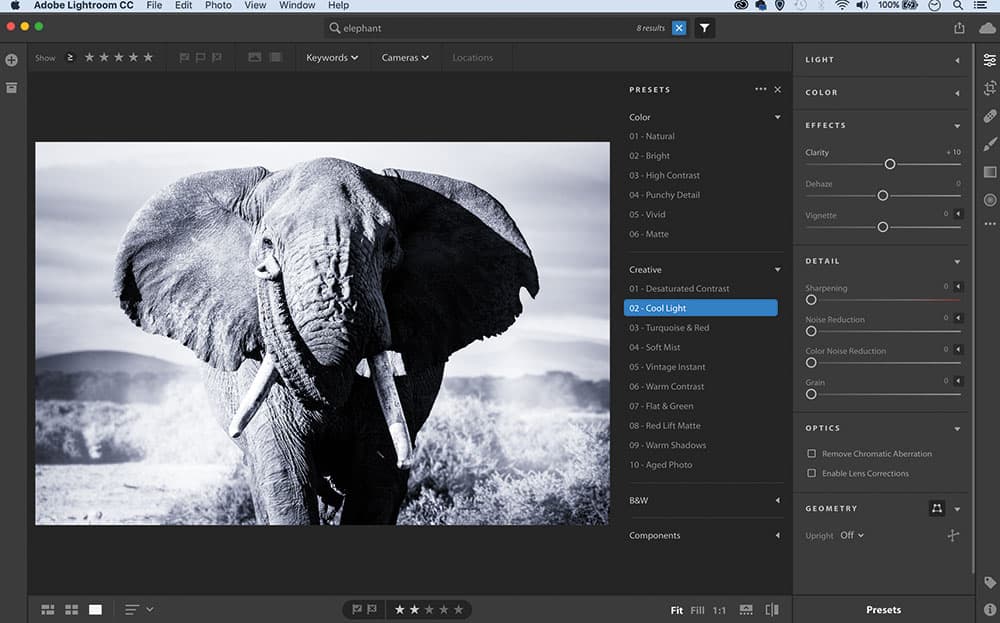
11. Lightroom CC tips: Smart searches
Lightroom CC’s search bar is pretty special. It not only lets you search by keywords and other normal data but it also intelligently analyses your library. Type ‘elephant’, for example, and it’ll seek out any elephants in your library by analysing your photos’ content. For those who find image organising a chore (as in most of us), this is a game-changer.
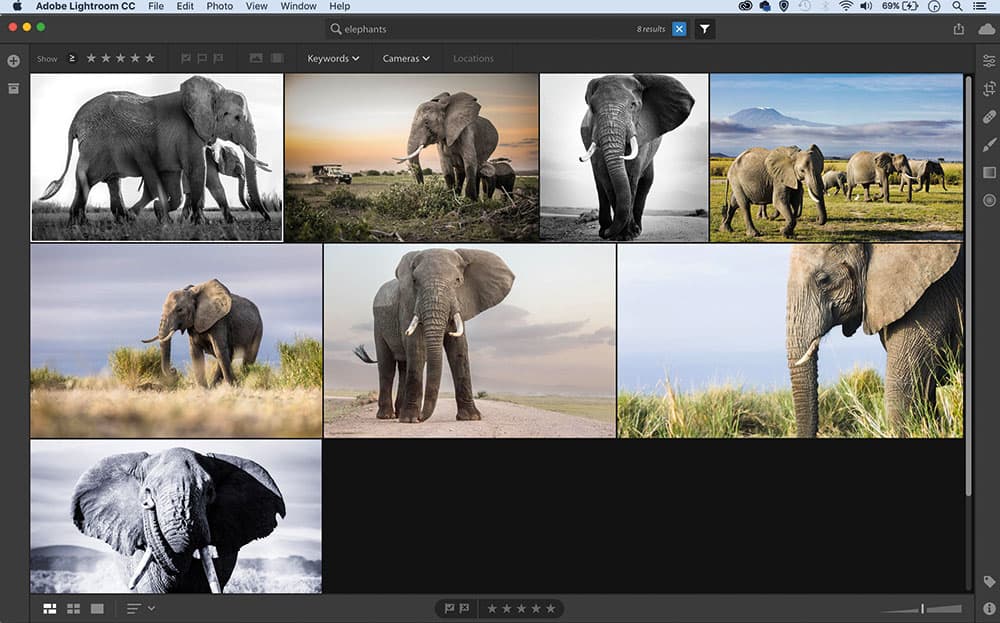
Lightroom CC’s clever search tool will analyse your library’s content
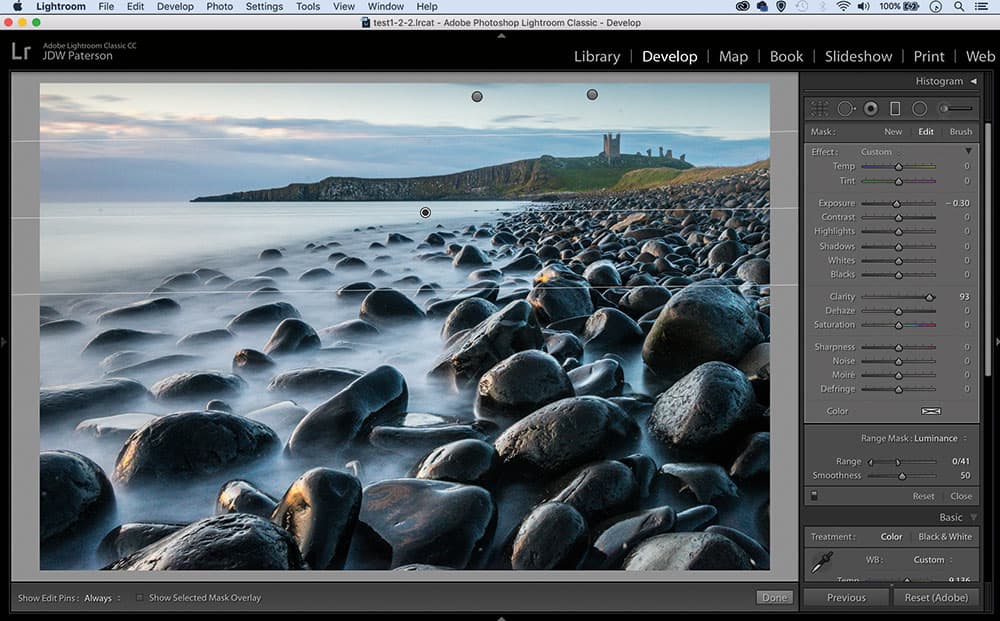
12. Lightroom CC tips: Check the overlay
When using the new Color Range or Luminance features while making local adjustments, it helps to be able to see exactly where the adjustment will affect your image. Check or uncheck ‘Show Selected Mask Overlay’ to see what’s affected or, even better, learn the shortcut: O (for Overlay) turns it on and off.
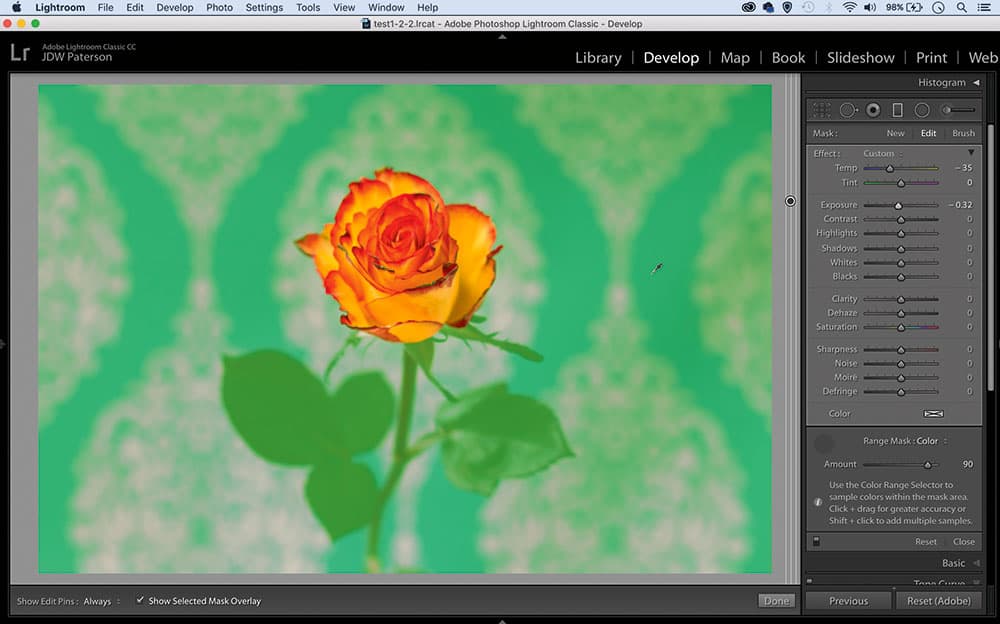
While making local adjustments, turn on ‘Show Selected Mask Overlay’ (top) to see how Color Range and Luminance features affect your image
13. Lightroom CC tips: Using both CC and Classic
If you like, you can use Lightroom CC in combination with Lightroom Classic and get the best of both worlds. Any photos synced from Lightroom Classic are available in Lightroom CC as space-saving Smart Previews, so you can keep the bulk of your library stored locally while editing on the go.

14. Lightroom CC tips: Make intelligent Adjustments
Lightroom’s three local adjustment tools – the Adjustment Brush, Graduated Filter and Radial Filter – have suddenly become much more nuanced and precise with the addition of a new Range setting. Hidden at the bottom of each tool’s settings, the Color Range and Luminance controls are a revelation.
The revelatory new Range setting has been added to Lightroom’s three local adjustment tools
15. Lightroom CC tips: Slick presets
Presets in Lightroom CC work in a similar way to Lightroom Classic, allowing you to create different looks in seconds and save your favourite settings for use on other photos. There are several new presets exclusive to Lightroom CC, including the new Creative set shown here.
16. Lightroom CC tips: Sharing options
Lightroom CC makes it easy to share photos via social media with a dedicated ‘Send to Facebook’ button. You can also create custom web galleries and create a link to share them. What’s more, there’s also integration with Adobe Portfolio.

17. Lightroom CC tips: Set adjustments by brightness
The Luminance setting in local adjustment tools lets you zero in on a specific range of brightness within the area defined by the tool. You can turn on Luminance and set Range to 0 to 40.
18. Lightroom CC tips: Lightroom on the web
The Lightroom CC ecosystem includes Lightroom Web letting you access and edit your photos stored in the cloud on any device with a web browser. It also features an interesting Best Photo tool.
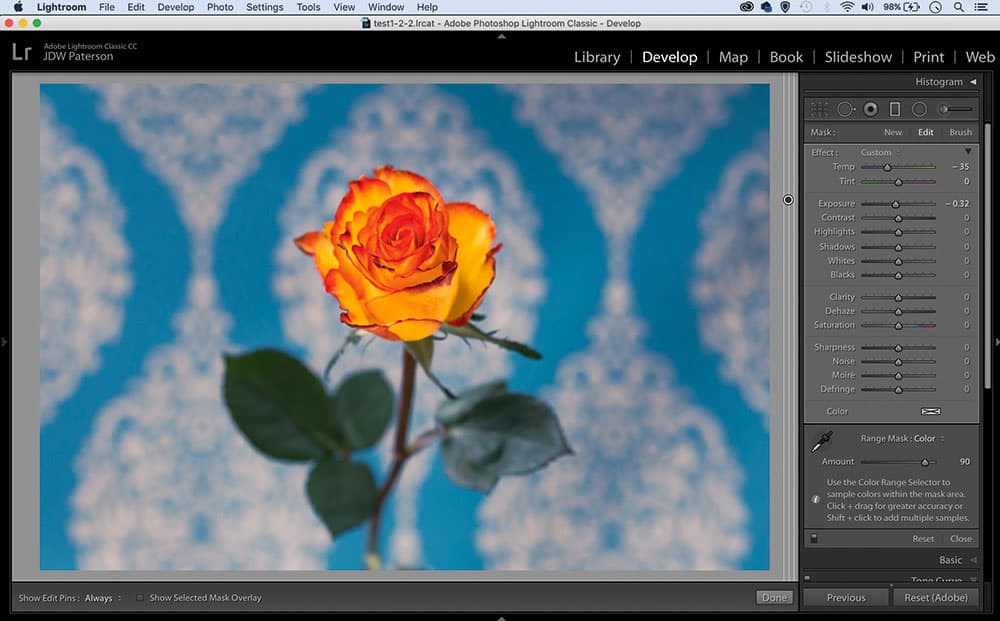
19. Lightroom CC tips: Use Color Range masks
To use the new Color Range tool, make a local adjustment in the usual way with the Adjustment Brush, Graduated or Radial Filter. Next, select Range: Color Range in the tool settings on the right. Use the eyedropper to sample a colour within the image, then use the tool’s tonal sliders to alter that colour in any way you like.
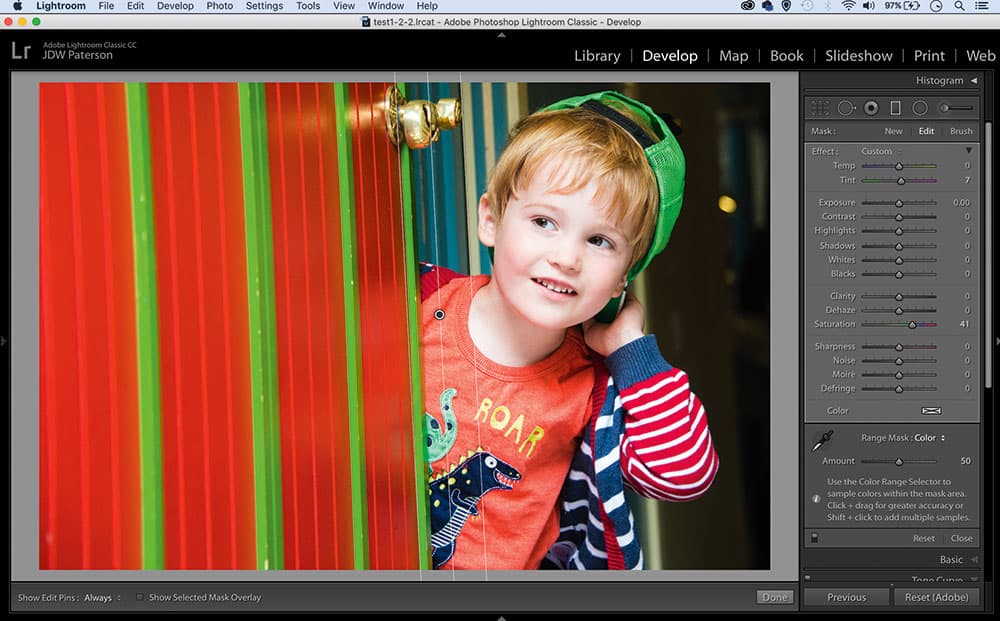
The new Color Range tool samples a colour within the image
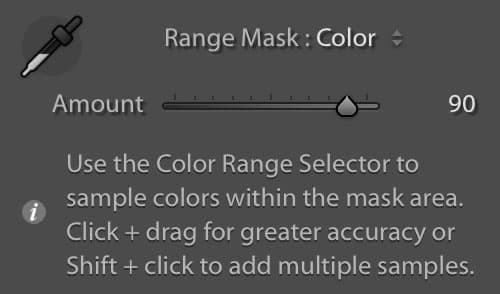
20. Lightroom CC tips: Control the range
The Color Range tool features an Amount slider that lets you control how much of the sampled colour should be included. A low amount means that the command will only look for a very narrow colour range that matches your sample point. A larger Amount means it’ll include more shades of the colour in the adjustment.
James Paterson
James is as skilled a photo editor as he is a photographer. His work has appeared in countless magazines and books, and in 2014 he was appointed editor of Practical Photoshop magazine. His subjects range from portraits to landscapes, architecture and underwater scenes. For James, Photoshop is more than just a work tool. Visit www.patersonphotos.com.


